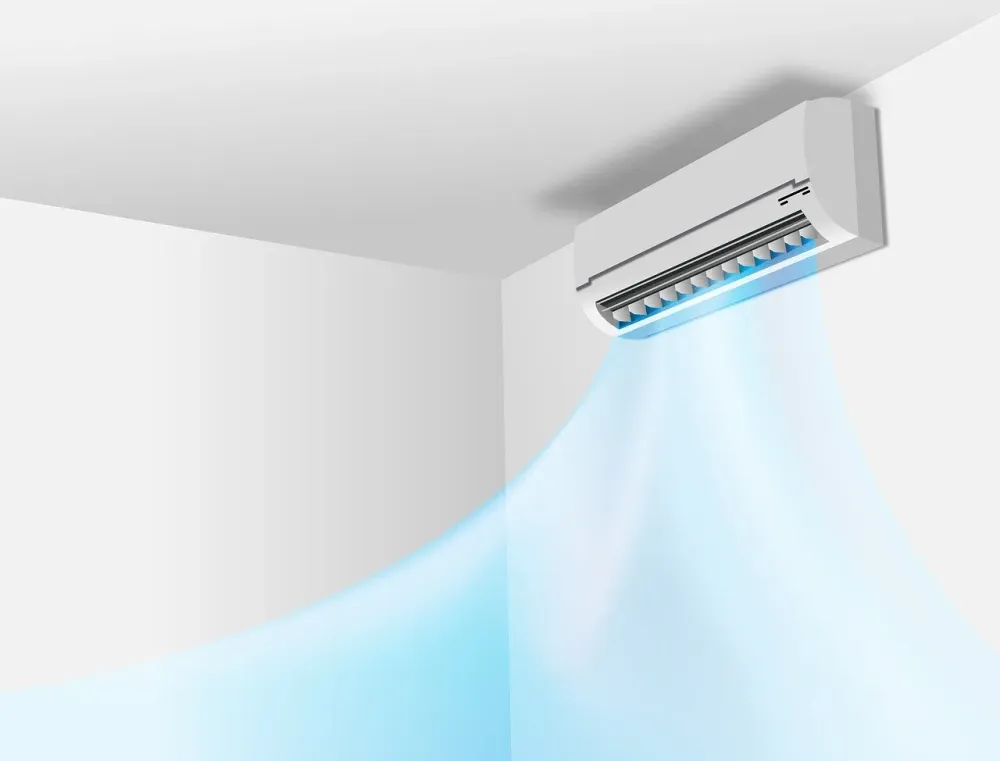
Lamps not only provide lighting, but also enhance the beauty and atmosphere of your home. Adding new light fixtures can solve the problem of insufficient light, but requires proper planning and installation. This article will introduce the steps, selection suggestions and safety precautions for adding new lamps to help you create a bright and comfortable home environment.
Why do we need to add new lamps?
- Improve lighting effect: If a study or kitchen requires local lighting, adding new lamps can improve functionality.
- Beautify your space: The right light fixture can add a sense of design to your living room or bedroom.
- Energy Saving: Choose LED lighting fixtures to lower your electricity bills and extend their service life.
Steps for adding new lamps
- Evaluate lighting needs
Choose the type of lamp according to the function of the room, such as ceiling lamp (overall lighting), table lamp (local lighting) or wall lamp (ambience lighting). - Choose the type of lighting fixture
Common lighting fixtures include LED ceiling lights, chandeliers, spotlights and table lamps. Choose one that matches the style of your room, and confirm the wattage and color temperature (3000K warm light, 5000K white light). - Plan the installation location
Ensure that the location of the lamp does not affect the activity space, and consider the location of the power lines and switches. Avoid installing ordinary lamps in humid areas and choose waterproof models. - Prepare tools and materials
Prepare screwdrivers, wires, lamp bases, electrical tape and a multimeter. Make sure the light fixture meets safety certifications. - Turn off the power and install
Turn off the power to the switch box and use a multimeter to confirm that there is no power. Connect the live wire, neutral wire and ground wire of the lamp, fix the base and install the lamp. - Testing and Adjustment
Turn on the power and test whether the lamp lights up normally. Adjust the light angle to ensure that the lighting effect meets your needs.
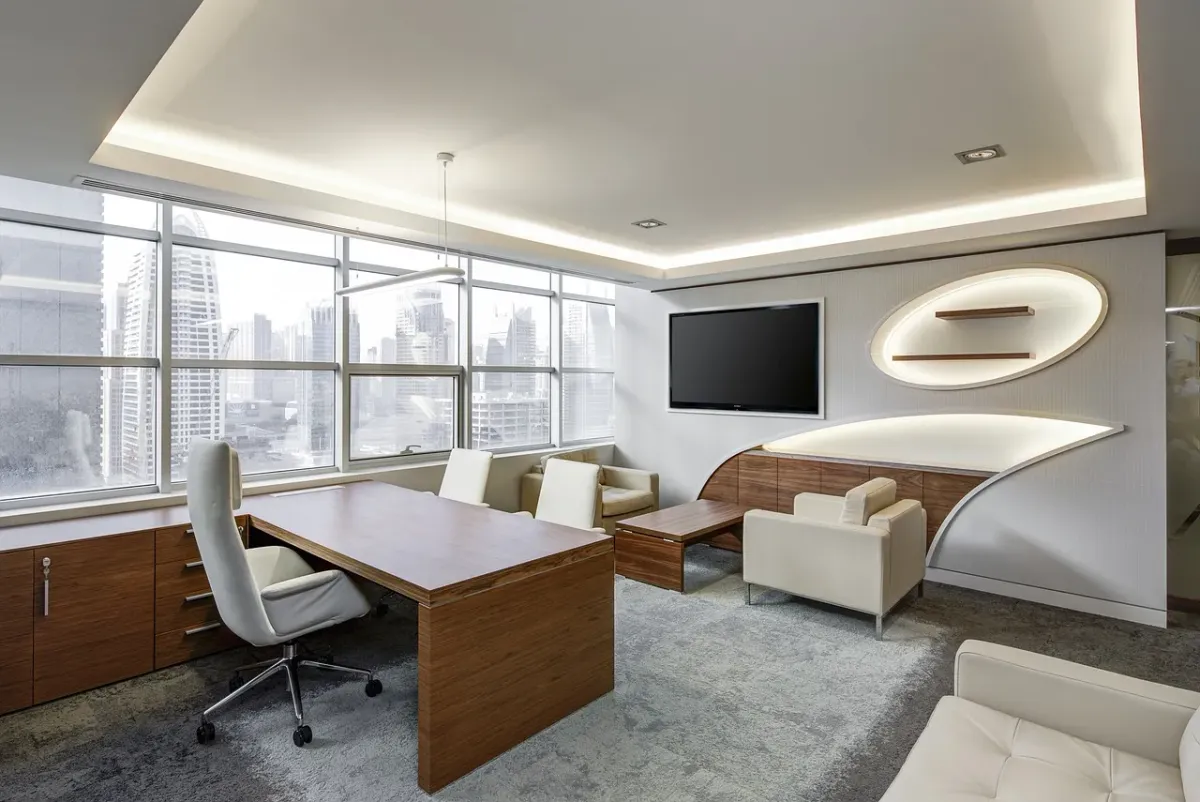
Suggestions for choosing lamps
- Prefer LED: Energy-saving and long-lasting, suitable for long-term use.
- Consider color temperature: Warm light is good for bedrooms, white light is good for work areas.
- Install a dimmer: Adds flexibility and saves energy by adjusting brightness.
Safety Precautions
- Avoid overloading: Confirm the line load capacity, and do not add new lamps that exceed the capacity of the switch box.
- Check the wiring: Old wiring may need to be upgraded to ensure there is no risk of short circuits.
- Professional installation: If complex wiring is involved, be sure to ask a professional electrician to operate it.
Conclusion
New lighting fixtures can greatly improve the lighting effect and aesthetics of your home. With correct selection and installation, you can create a comfortable and energy-saving light environment. Plan your lighting installation now and brighten up your home life!
The latest standards for catching leaks and regulatory responsibilities in Shuangbei collective housing (2025-2026 practice)
According to Article 10 of the "Apartment Building Management Regulations" of the Ministry of the Interior and the trend of civil water leakage judgments in Shuangbei District Court in recent years, most water leakage disputes in old collective housing focus on the identification and definition of "exclusive parts" and "common parts". The roof platform and the public pipes are jointly owned by all separate owners, and the repair costs should be shared by public funds or all residents in proportion to their shares according to law; if the water supply and drainage pipes inside the floor slabs on the upper and lower floors are damaged, the pipes will be borne exclusively by the users or shared by the upper and lower floors.
At the engineering and technical level, modern professional leak detection has fully introduced non-destructive scientific testing, including "FLIR high-resolution infrared thermal imaging camera" (locating temperature difference leakage paths), "high frequency moisture meter" (measuring the moisture content of deep structures) and "pipeline air pressure and water pressure pressure test" (determining whether hot and cold water pipes are leaking). During construction, do not directly apply elastic cement or oil-based paint on the wet cement layer to seal it. Otherwise, the thermal expansion of internal water vapor will quickly cause the coating to blister and peel off, resulting in more serious powdery wall cancer. The standard construction method must first completely eliminate the water source, wait until the moisture content of the cement structure drops below 8%, and then apply the negative pressure resistant silicic acid permeability crystallized waterproof layer.
Recommendations on independent certificate storage and compensation process for water leakage repair
- Take photos and videos as evidence immediately: Use rulers to record the leakage range, frequency of water discharge, direction of water mark diffusion, and keep time stamps.
- Written notification and coordination survey: Officially notify the neighbors through the management committee or a certified letter, and agree on a professional third-party leak detection and appraisal unit recognized by both parties to conduct an on-site survey.
- The contract states the warranty terms: When signing the contract for the project, be sure to clearly specify the waterproofing warranty period (usually 1 year for partial repairs, and 2 to 5 years for the whole room or roof re-construction), and specify the water test acceptance criteria (such as a 48-hour water storage test in the bathroom shower area) to protect your own asset rights.